




How to install welded wire mesh for slope protection?
 Dec 26, 2025|
 Hey there! If you're looking to protect a slope, welded wire mesh is an excellent choice. I'm a supplier of welded wire mesh, and I've helped many folks with slope protection projects. In this blog, I'll walk you through how to install welded wire mesh for slope protection.
Why Use Welded Wire Mesh for Slope Protection?
First off, let's talk about why welded wire mesh is great for slope protection. It's strong and durable, which means it can withstand the forces of nature, like erosion and landslides. The welded joints make the mesh stable and reliable, and it can conform to the shape of the slope easily. Plus, it's cost - effective compared to some other slope protection methods.
Step 1: Planning and Preparation
Before you start installing the welded wire mesh, you need to do some planning.
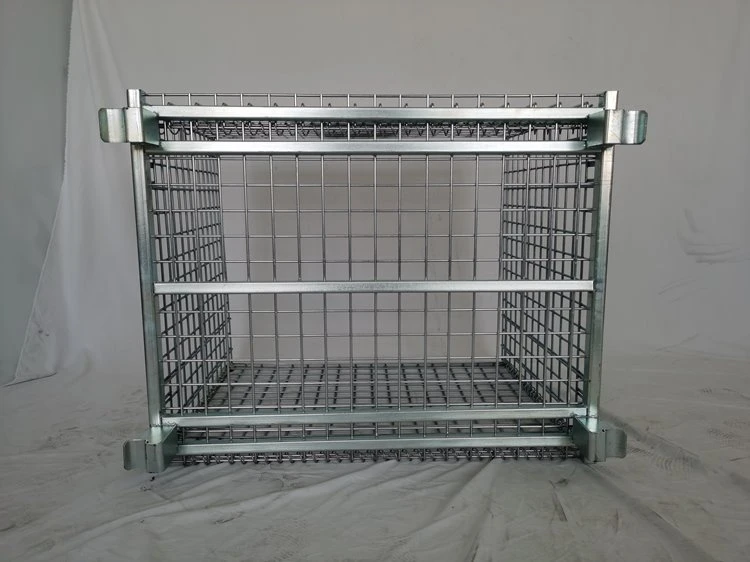

- Inspect the Slope: Take a good look at the slope. Check for any existing cracks, loose soil, or other issues. Measure the length, width, and height of the slope. This will help you determine how much welded wire mesh you need.
- Gather Materials and Tools: You'll need welded wire mesh (obviously), of course. I offer a variety of options like Mineral Processing Screens, Metal Mesh Cage, and Green Mesh Fencing Panels that are suitable for slope protection. Other materials include stakes or anchors, wire cutters, pliers, and a hammer.
Step 2: Clear the Slope
Once you've planned everything out, it's time to clear the slope.
- Remove Debris: Get rid of any rocks, branches, or other debris on the slope. This will ensure that the welded wire mesh lays flat and makes good contact with the soil.
- Level the Surface: If there are any large bumps or depressions, try to level them out. You don't need a perfectly smooth surface, but it should be relatively even.
Step 3: Install Stakes or Anchors
Now it's time to install the stakes or anchors.
- Mark the Layout: Decide where you want to place the stakes. Usually, you'll want to place them along the edges of the area where you'll install the welded wire mesh and at regular intervals across the slope.
- Drive in the Stakes: Use a hammer to drive the stakes into the ground. Make sure they are driven deep enough to hold the mesh securely. The depth will depend on the type of soil and the size of the stakes, but generally, they should go in at least a foot or so.
Step 4: Unroll and Cut the Welded Wire Mesh
Next, it's time to get the welded wire mesh in place.
- Unroll the Mesh: Start at the top of the slope and unroll the welded wire mesh down the slope. Try to keep it as straight and flat as possible.
- Cut the Mesh: Use wire cutters to cut the mesh to the appropriate length and width. Make sure to leave some extra mesh at the edges to attach to the stakes.
Step 5: Attach the Mesh to the Stakes
Once the mesh is in place, it's time to attach it to the stakes.
- Secure with Wire or Clips: You can use wire or special clips to attach the welded wire mesh to the stakes. Wrap the wire around the mesh and the stake and twist it tightly with pliers. If you're using clips, simply snap them onto the mesh and the stake.
- Check for Tightness: As you attach the mesh, make sure it's tight. A loose mesh won't provide effective slope protection.
Step 6: Overlap and Connect Sections
If you need to use multiple sections of welded wire mesh, you'll need to overlap and connect them.
- Overlap the Mesh: Overlap the edges of the mesh sections by at least a few inches. This will ensure a continuous and strong barrier.
- Connect the Sections: Use wire or clips to connect the overlapping sections of the mesh. Make sure the connection is secure.
Step 7: Check and Adjust
After you've installed the welded wire mesh, take a step back and check your work.
- Inspect for Gaps or Loose Areas: Look for any gaps in the mesh or areas where it's not properly attached to the stakes. Fix any issues you find.
- Make Adjustments: If the mesh is sagging in some areas, tighten it up. You may need to add additional stakes or adjust the tension of the wire.
Step 8: Optional: Add Soil or Vegetation
Once the welded wire mesh is installed, you can take some additional steps to enhance slope protection.
- Add Soil: You can add a layer of soil on top of the mesh. This will help hold the mesh in place and provide a base for vegetation.
- Plant Vegetation: Planting grass, shrubs, or other vegetation on the slope can further enhance slope stability. The roots of the plants will help hold the soil in place.
Conclusion
Installing welded wire mesh for slope protection isn't too complicated if you follow these steps. It's a great way to protect your slope from erosion and landslides. As a welded wire mesh supplier, I can provide you with high - quality mesh and answer any questions you might have. If you're interested in purchasing welded wire mesh for your slope protection project, feel free to reach out for a chat and discuss your needs. We can work together to find the best solution for you.
References
- "Slope Protection Techniques" - Geotechnical Engineering Handbook
- "Welded Wire Mesh Applications" - Metal Products Journal